 Modern houses today are using granite tiles instead of regular tiles. Granite flooring is used for its beauty, stylishness, sophistication and ability to transform a room into a luxurious area. Granite can be also use as countertop materials around baths and sinks and even on wall.
The advantages of granite flooring aside from beauty and elegance is much less expensive in terms of labor expenses because it can be easily install. Other advantages includes durability, hypoallergenic qualities and resistance to water and moisture. Since granite is a hard stone, it impossible to break and with proper care, it will be last for a lifetime and remain in good condition. Granite is also resistance to bacteria and allergens as well as resistant to water and moisture.
Steps in Installing Granite Flooring
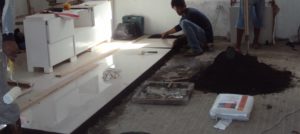
- Organize the sub-floor. Make sure that the sub floor is clean and free from any old tiling, paint, residue, adhesives or sand and free from any debris.
- Lay out granite tiles. Plan to where to put the granite tiles. You can start at a corner of the area and start laying down tiles. If the tiles need to be cut, make sure that it will fit by taking the measurement and cut it with the wet saw.
- Use mortar. A mortar is a paste used to bind building blocks like stones, brick and concrete masonry units such as tiles and granite. It fill and seal the irregular gaps between them. Mix the mortar according to the instructions of the bag and mix to a thin mud like consistency and use trowel and lay down thin over the surface of the area to be tiled. Put down a backer board on the floor and screw down.
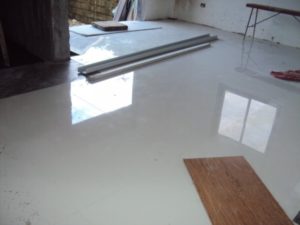
- Apply mortar. When the backer board has been installed, put the mortar for the tile installation and cover small areas at a time and spread the mortar with the trowel at a 45 degree angle to the surface.
- Put granite. Start laying out the tile according to your plan. Position a tile in the first corner and press down firmly in the corners. Repeat the process until all tiles are set and allow 1 day to cure.